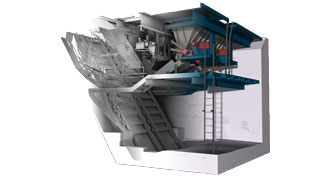
Customer requirement: Delivery of complex 3D model skip pit for subsequent design activity, so as to be compatible with their CAD system.
Any unplanned shutdown of a blast furnace is economically disadvantageous. Therefore, it was necessary to take measurements of skip pit during a planned shutdown. Several dozen of technicians operates the facility during this shutdown . Our activities were on the bottom floor of the facility. For safety reasons and also falling dust caused by activities of the operation engineers, it was possible to perform measurements at lunchtime when was lower work-flow.
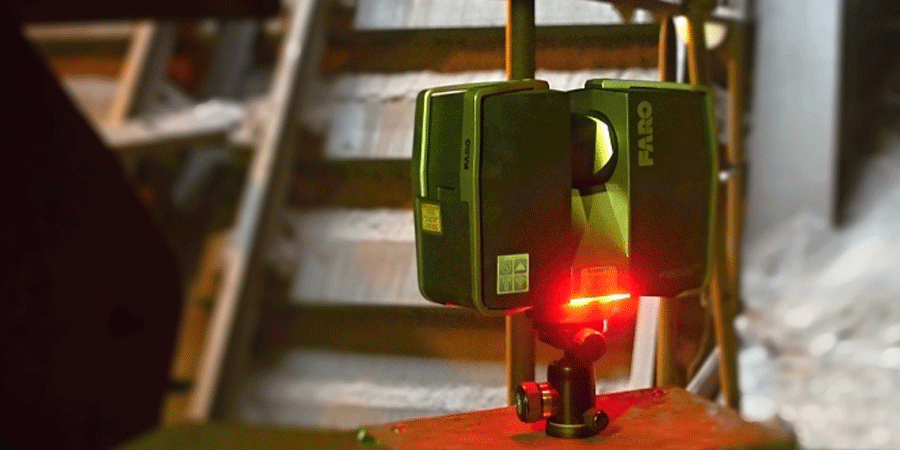
Precisely for this type of activity is the most suitable method of laser scanning with our device FARO Focus 3D. With this technology we were able to measure the subject from 17 spots in 2 hours with an accuracy of ± 2 mm. Of course there was needed to be taken very detailed photographs of the object so the only visit would be enough to make a real copy in the 3D model.
During the next working days was carried out a union of the 17 positions into one homogenous cloud of points with a density of 3 mm. In the next 10 working days was carried out a conversion of the cloud into a bulk and categorized 3D model.
Now, the customer has a complex and highly accurate data of the projected area. The client saves a lot of time associated with additional measuring of forgotten dimensions. And from the comfort of his office he can fully devote to desining of modifications of skip pit in a 3D environment. Another big advantage for the client is deliverery of Webshare project that will enable clarity of the whole building in the form of panoramic photos viewed in a Web browser.

The biggest complication in realization of the project was a enormous dust content environment, a weak light conditions, extremely short time reserved for the measurement of the object and the “high density” of technological equipment. All these obstacles did not stop our team to successfully finish the next project.
Basic information about the project:
* Opening of measuring activities: At the first possible shutdown i.e. a week after the first contact
* Measurement method: Laser Scanning
* Scaning time: 2h
* Number of measuring stations: 17
* The total number of measurement points 51407771
* Delivery time of cloud of points and Webshare project: 3 working days
* Making time of a complex 3D model: 10 working days
* 3D model is delivered to the CAD system SolidWorks and AutoCAD

